
Moving a pool table ranks among the most delicate relocation tasks a homeowner faces. Unlike furniture you can simply wrap and load, a pool table is precision equipment with dozens of components that must be handled correctly to avoid costly damage. Whether you’re relocating across Dallas-Fort Worth or managing a household transition, understanding disassembly fundamentals protects your investment and sets the stage for trouble-free reinstallation.
Why Proper Disassembly Matters
A pool table is built around a slate bed that must remain perfectly level to play true. The cloth is stretched under exact tension. Rails and cushions are calibrated for consistent ball response. When you disassemble a table carelessly, you risk warping the slate, damaging the felt, or misaligning components that are expensive and time-consuming to restore.
Most homeowners who attempt DIY disassembly without experience make preventable mistakes: they crack the slate by dropping it, they tear the cloth while removing it, or they forget how parts fit back together. Even small errors cascade into alignment problems that ruin gameplay and require professional correction.
Gather Your Tools and Workspace
Before you touch a single bolt, prepare your work area and assemble the right equipment. You’ll need:
- Socket and wrench set (to fit your table’s hardware)
- Screwdrivers (Phillips and flathead)
- A dolly or hand truck rated for heavy weight
- Moving blankets or thick padding
- Markers for labeling parts
- A clear, dry workspace large enough to lay out components
- Your table’s original documentation or assembly manual
Clear a clean area in your garage or basement where you can lay components flat without cramping. Concrete or hardwood floors work better than carpet, which can catch edges and snag the felt.
Step-by-Step Disassembly Process
Document Everything First
Before removing a single component, take photos and video of your table from multiple angles. Photograph the rail orientation, cloth pattern, and any custom details. If your table arrived with an assembly manual, review it now so you understand the reverse sequence for reassembly. Use your phone to film a slow walkthrough so you have a reference video.
Mark each major component with painter’s tape and a permanent marker. Write numbers on the rails, legs, and cushions so you know exactly where each piece belongs when reassembling.
Drain the Pockets
Empty all pockets and inspect for lost coins or debris that could damage the table during transport.
Remove the Rails and Cushions
Most pool tables have rails secured with bolts underneath or through the body of the table. Work systematically from one end of the table, removing bolts and carefully lifting rails straight up and away. Some rails are heavier than you might expect, so enlist help rather than straining alone.
Place each rail upside down on a padded surface. Wrap padding around the cushion (rubber bumper) to protect its edge from impact damage during transport.
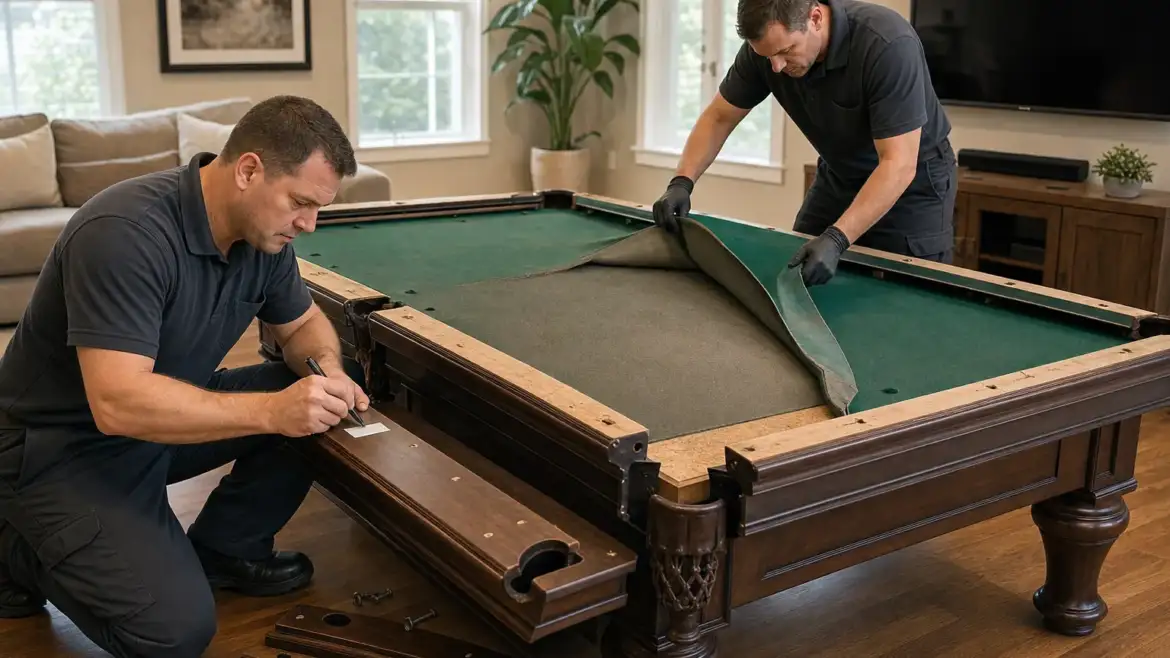
Carefully Remove the Cloth
The felt is typically stapled or glued around the underside of the slate bed. Gently pull up one edge to locate the fastening method. If stapled, a staple remover or small pry bar works, though you must take care not to gouge the slate. Work slowly from all four corners, loosening the felt gradually rather than yanking one corner free.
Roll the cloth loosely and wrap it in clean plastic or a cloth bag. Store it flat or loosely rolled, never folded or creased, to preserve its condition for reinstallation or eventual replacement.
Support the Slate During Removal
The slate bed is the heaviest and most fragile part. Most tables have a supporting frame underneath. Once the felt is removed, inspect how the slate is supported and secured. Some tables have the slate glued or bolted to the frame; others rest on supports that must be carefully eased out.
If your slate consists of multiple pieces joined at seams, those seams are sealed with epoxy and are vulnerable if struck or bent. Support the slate with a hand truck or dolly as you work, and never let it bridge unsupported across a gap.
Disassemble the Frame and Legs
Once the slate is removed and safely secured, unbolt and separate the table’s frame and legs. Again, label everything as you remove it so reassembly becomes straightforward.
Packing for Transport
Transport exposes your components to vibration, temperature shifts, and potential impact. Wrap each major piece:
- Slate: Use a slate-specific moving blanket, foam sheeting, or multiple layers of quilted padding. Secure with soft straps, never metal hardware that could scratch.
- Rails: Wrap individually in moving blankets and secure firmly so they do not shift during transport.
- Cloth: Keep in its cloth bag or plastic wrapping, stored flat.
- Hardware and fasteners: Use a labeled box or bags so you keep track of every bolt, staple, and bracket.
Load the heaviest items (slate and frame components) into the truck or moving van first, placing them low and centered to prevent tip-over. Never stack heavy items on top of the slate.
Consider Professional Disassembly
Disassembling a pool table successfully requires patience, the right tools, and mechanical knowledge. One mistake during disassembly can cost hundreds or thousands in repairs. DFW Billiard Professionals provides professional pool table setup and disassembly services throughout the Dallas-Fort Worth area, ensuring your table is disassembled safely, transported securely, and reassembled to tournament-quality precision.
If your table is valuable, large, or features a slate bed with multiple seams, professional handling is a worthwhile investment. The team understands how to work with different table designs, protect each component, and coordinate logistics so your move proceeds smoothly.
Final Checklist Before Moving
Before your table leaves the house:
- Photograph all components in their original positions
- Label every piece with clear markings
- Document all bolts, screws, and fasteners in a labeled container
- Verify the slate is fully supported and cannot shift during transport
- Confirm the cloth is stored flat and protected from creasing
- Double-check that you have the original manual or your video reference
- Confirm your destination space is prepared to receive the table (with level flooring and adequate room)
Proper disassembly is the first step toward a successful move and flawless gameplay when your table is back in place. Take your time, stay organized, and do not hesitate to reach out to professionals if you encounter unexpected complications. Your pool table will reward careful handling with years of true, responsive play.