
Considerations…
Moving a pool table involves a series of precise steps that, if followed correctly, can ensure the safe disassembly, transport, and reassembly of your pool table. This guide offers an in-depth look at each phase of the process, emphasizing the importance of meticulousness and the right tools. Whether you’re a determined DIY enthusiast or weighing the option of professional assistance, understanding the complexity and detailed nature of the task is crucial.
Detailed DIY Moving Steps
Disassembly
Removing Leather Pockets and Rails
- Leather Pockets: Start by removing the staples or screws attaching the leather pocket baskets to the table. This may require a staple puller or a screwdriver, depending on the attachment method.
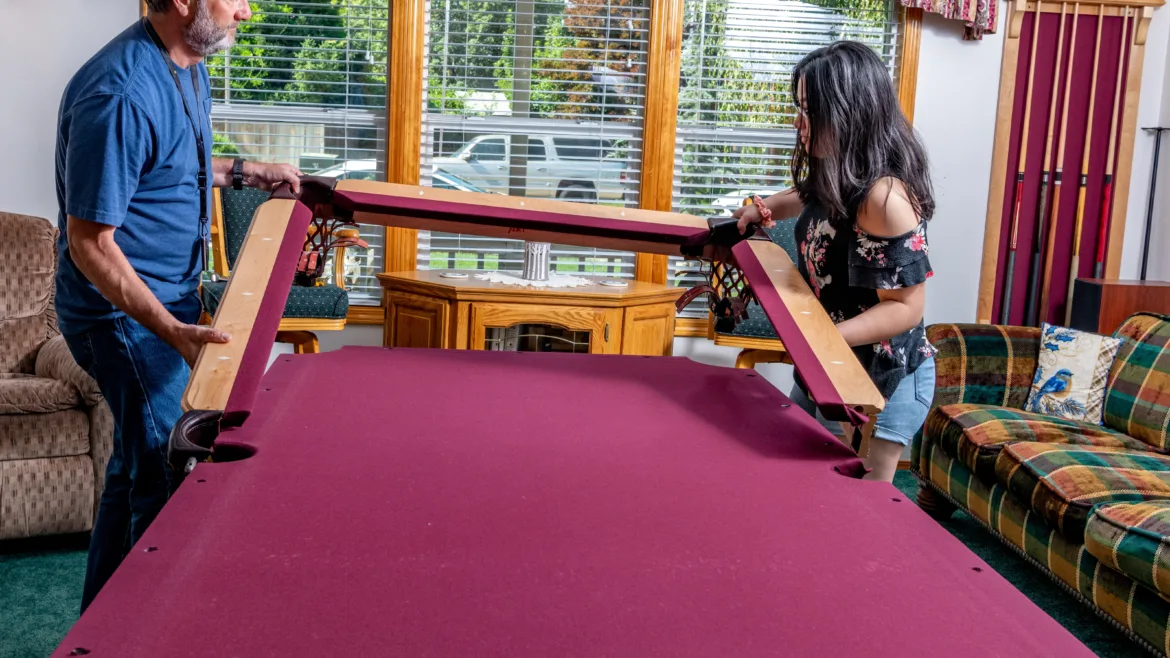
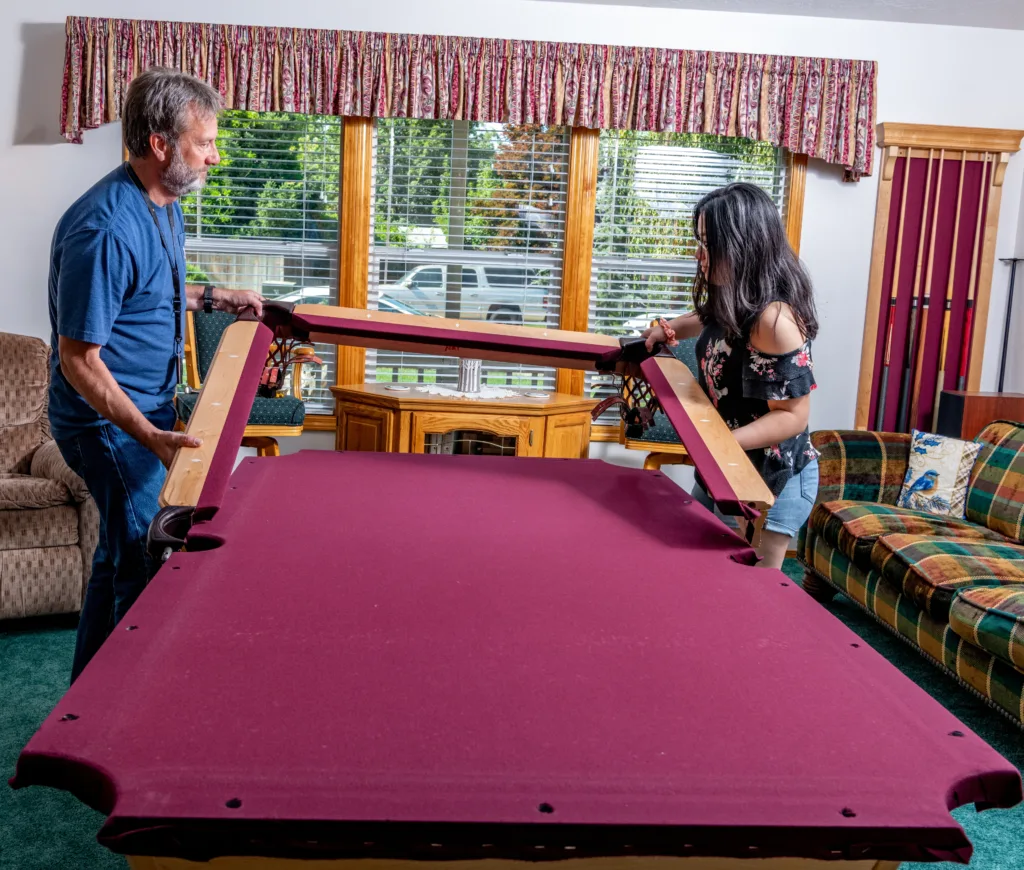
- Unbolting the Rails: Once the pockets are detached, proceed to unbolt the rails from the table. This step typically involves a socket set or wrenches. Be cautious of the pockets still attached to the rails; they may need to be detached or handled carefully to transport in sections or individually.
Cloth Removal
- Removing the Cloth: This step often involves removing numerous staples from the sides and underneath the table. In some cases, the cloth might be attached with both adhesive and staples. The goal is to remove the cloth without causing damage, preserving it for reinstallation.
Slate Handling
- Marking and Removing the Slate: Before unscrewing the slates, mark them to remember their original order on the table. A common method is drawing a half-moon across all slate seams, labeling one as “position 1” on both the slate and table frame. Then, carefully unscrew and remove each slate, preparing them for transport.
Frame and Legs Disassembly
- Disassembling the Frame and Legs: The last step in disassembly involves taking apart the frame and legs. This step may require a variety of tools, including screwdrivers and wrenches, depending on the construction of your moving a pool table.
Packing and Transport
General Packing Recommendations: While specific packing methods may vary, the primary goal is to transport the table components, especially the slates, in a way that prevents movement, banging, and potential damage. Whether you are moving a pool table a few feet within the same room or moving a slate pool table to a new location, proper protection is essential.
Use moving blankets, straps, and padding as necessary to secure all parts during transit. If you are learning how to disassemble a pool table for moving, careful packing after disassembly helps protect every component and ensures a smoother reassembly process. For more expert help, explore our Billiard Services and follow us on Facebook for tips on moving a pool table, service insights, and trusted support.
Reassembly
Frame and Legs Setup
- Reconstructing the Frame and Legs: Begin reassembly by reconstructing the frame and legs in the desired location within the room. Level the frame as accurately as possible to minimize adjustments needed when placing the slates.
Slate Placement and Leveling
- Placing and Leveling the Slates: Return the slates to their original positions in order, leveling them to form a single plane. This step often requires multiple levels and meticulous adjustment from one end of the table to the other, ensuring a seamless transition between slates.
Seaming the Slates
- Seaming with Beeswax: Once level, seam the slates with beeswax, melting it into any gaps or transitions and scraping it flush. This creates a smooth playing surface across the slates.
Cloth Reattachment and Final Assembly
- Reattaching the Cloth: Reattach the cloth using staples or spray adhesive, ensuring it is tight and free of wrinkles.
- Rails and Pockets: Bolt the rails back into place, reattaching the pockets. Ensure straight lines and proper alignment across the table.
- Pocket Baskets: Lastly, reattach the baskets of the pockets underneath the table and place a new spot on the cloth at the designated play area.
Professional Insight
While this guide provides a comprehensive overview of the steps involved in moving a pool table, the precision, tools, and time required can be daunting. Professional pool table movers offer the expertise and equipment necessary to handle the task efficiently, minimizing the risk of damage or improper reassembly.Considering the average cost of professional moving services is between $350-$400, many find the investment worthwhile for the peace of mind and guaranteed quality of the job.
Conclusion
This guide aims to empower you with the knowledge to either tackle moving a pool table yourself or make an informed decision about hiring professionals. Remember, the success of moving a pool table lies in the details and precision of each step. Whether you choose the DIY route or professional services, understanding the intricacies of the task ensures your pool table remains a cherished source of entertainment and competition for years to come.